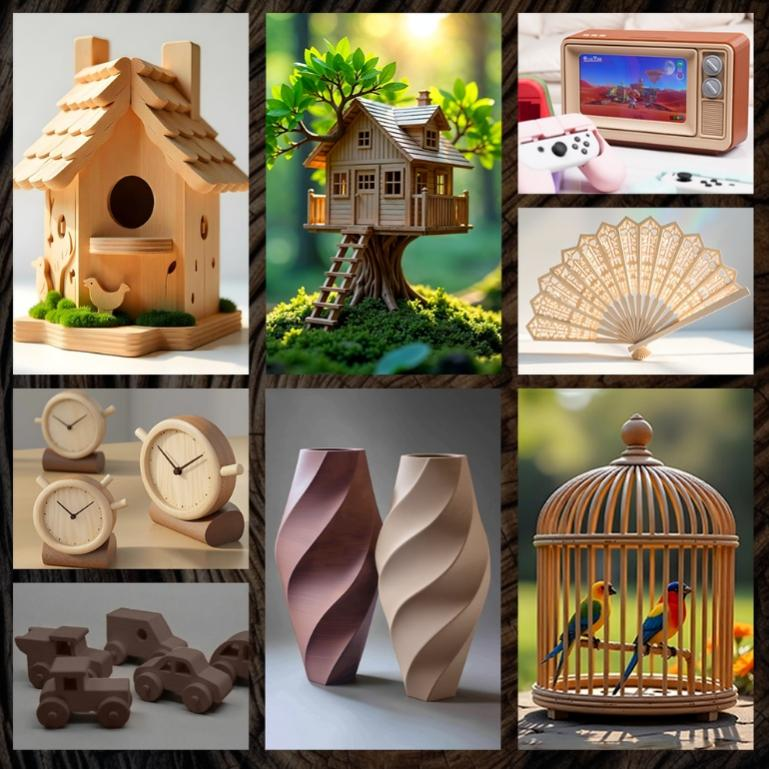
The most practical way to create a convincing wood-like surface is to combine wood-filled PLA with deliberate model orientation, suitable layer settings, controlled temperature and speed, and light post-processing. The material establishes the basic color and surface character, while the print path and finishing process influence how convincingly the result resembles wood.
SUNLU’s Optimized Wood PLA contains 15% real wood powder and is designed for a matte, wood-like finish. It is offered in Wood, Cherry Wood, and Walnut Wood variants, providing different starting appearances before finishing.
Choose Wood PLA for the Intended Appearance
Standard PLA can reproduce the shape of a wooden object, but its surface normally retains a more uniform plastic appearance. Adding wood powder changes the visual and tactile character of the printed surface.
SUNLU lists 15% real wood powder in its Optimized Wood PLA. The product uses 1.75 ±0.02 mm filament and is supplied at 1 kg per spool, with a listed length of about 330 m. These specifications are useful when estimating material requirements for decorative prints.
A wood filament provides the material base, but realistic grain does not come from the material alone. Model geometry and extrusion paths also affect the final pattern.
Orient the Model to Emphasize Grain Direction
Layer direction can influence the appearance of long, curved, and cylindrical parts. For plank-like designs, try orienting the model so the main extrusion paths follow the intended grain direction, then preview the slicer tool paths to assess whether they support the desired visual effect.
For suitable single-wall objects, spiral vase mode can also be considered. Prusa explains that this mode uses one continuous perimeter while gradually increasing Z height, reducing the repeated seam created when separate perimeters start and end.
Before printing a large model, rotate the design in the slicer and compare the resulting tool paths. This simple step can help avoid a grain direction that looks unnatural after printing.
Use Nozzle Size and Layer Height Carefully
Wood-filled materials contain solid particles, making nozzle clearance important. Prusa recommends a minimum 0.6 mm nozzle and 0.2 mm layer height for many wood-filled composites with larger particles, although the exact requirement varies by material.
SUNLU’s Optimized Wood PLA product page lists three nozzle-temperature and speed combinations: 195–205°C at 50–100 mm/s, 205–215°C at 100–150 mm/s, and 215–260°C at 150–400 mm/s. Use these as starting points and adjust them according to the printer, hotend, model, and extrusion performance. Confirm the bed-temperature setting against the applicable product instructions, as the page contains differing bed-temperature guidance.
For appearance-focused work, choose layer height according to the desired surface character. Fine layers can produce a smoother finish, while more visible layers may contribute to a pronounced linear texture.
| Setting | Official SUNLU Wood PLA specification |
| Wood powder content | 15% |
| Filament diameter | 1.75 ±0.02 mm |
| Nozzle temperature | 195–205°C, 205–215°C, or 215–260°C |
| Printing speed | 50–400 mm/s according to temperature |
| Bed temperature | 50–60°C |
| Drying | 65°C for 1–4 hours |
| Container humidity | Below 20% RH, sealed with desiccant |
Adjust Temperature and Speed Together
Temperature affects how consistently the material flows through the nozzle, while speed affects how much material must be melted over a given period. SUNLU therefore presents these settings as paired ranges rather than one fixed profile.
For a new printer or nozzle combination, start with the manufacturer’s range and test a small section. Check extrusion consistency, stringing, surface uniformity, and color appearance before using the setting for a long print. Small adjustments are easier to evaluate than changing several parameters simultaneously.
Use Finishing to Bring Out Wood Grain
Printing creates the base texture, but post-processing can add visual depth. Wood-filled filaments can be lightly sanded to reduce sharp layer transitions. Prusa notes that wood-filled materials can also be stained like wood, allowing the finishing stage to emphasize surface variation.
Use progressive sanding rather than removing substantial material in one step. After cleaning the dust, test any stain or finish on a small sample first. The final color depends on the filament formulation, printed surface, sanding level, and finishing product.
A pla spool should also be protected from moisture. SUNLU recommends drying this material at 65°C for 1–4 hours and keeping it in a sealed container with desiccant at below 20% RH.
Food Safety, Recycling, and Storage
SUNLU cautions against using its PLA to print tableware because colorants are added during production and printed parts may also be contaminated by the printer nozzle. Do not assume that wood-filled PLA or a finished 3D-printed object is suitable for direct food contact without verifying the material, printing process, and applicable safety requirements.
The material is recyclable, although the practical route depends on local recycling systems and the composition of the printed part. Users should follow local requirements for failed prints and support material.
Store the filament in a cool, dry environment and keep the spool sealed with desiccant, following the manufacturer’s guidance. Storage life and print performance depend on storage conditions and moisture exposure, so assess the filament before use rather than relying on a fixed shelf-life estimate.
Build the Texture Through the Full Workflow
Realistic wood grain is easier to achieve when material selection, print orientation, nozzle setup, temperature, speed, and finishing are considered together. Start with wood-filled PLA, orient the model to support the intended grain direction, use a suitable nozzle, and tune temperature and speed together. After printing, careful sanding and staining can further develop the surface.
SUNLU provides PLA Filaments across different FDM applications, while its Optimized Wood PLA product page provides the relevant starting specifications for wood-effect printing. The final appearance will still vary with the printer, nozzle, geometry, slicer profile, and finishing method, so a small test print is useful before a larger production run.
